Pavers, made from wood, stone, concrete, or asphalt, are commonly used on decks, patios, and driveways because they’re durable and look great. However, the pavers will sink over time if you don’t put them in correctly when you lay your new patio.

Luckily, you can take some simple steps to prevent sinking pavers and keep your patio looking great for years to come!
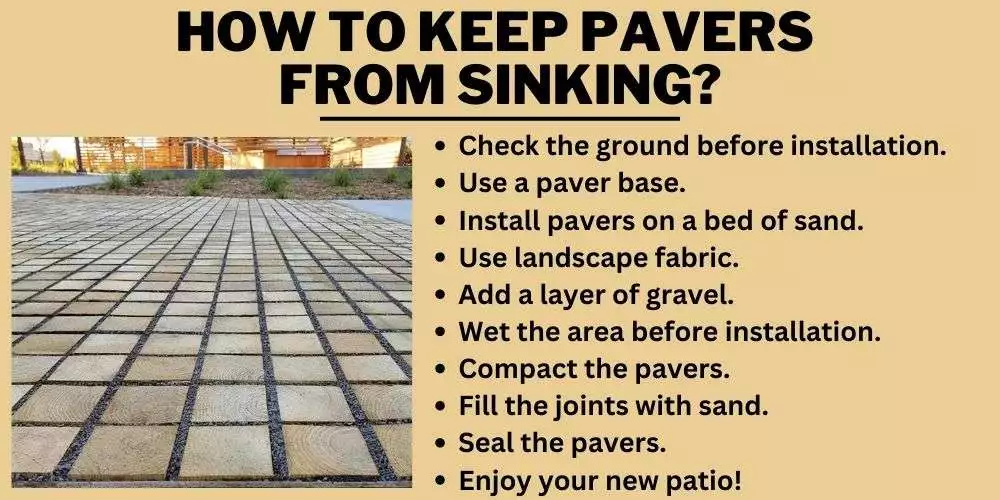
How to Keep Pavers From Sinking?
Pavers are one of the most popular choices for home and business owners because they have both durability and great aesthetic value. But if you don’t choose the right ones, or if you don’t take proper care of them, your pavers can end up being an expensive mistake.
Here’s how to keep pavers from sinking in your yard, so you can make that investment last a lifetime instead of just a few years.

1. Check the ground before installation
Check the ground you want to install the pavers on before you begin, and make sure it is level. If it is not, you will need someone with expertise in this area, such as a mason, to come and fix the problem.
This could cost quite a bit of money. If your ground is level enough for installation but needs some additional work for compaction or leveling out, do that first before proceeding with installing the pavers.
The next step would be checking for water drainage around the area where you plan on installing your pavers. Make sure there are no pipes or other obstructions that may cause problems with water drainage in the future.
2. Use a paver base
Pavers might be the answer if you want a low-maintenance way to spruce up your outdoor space. Many homeowners choose this type of paving material because it is durable and easy to maintain.
However, just like any other surface, it can be prone to settling if the ground beneath is not prepared correctly.
3. Install pavers on a bed of sand
If you’re installing pavers, ensure the sand is level and has a depth of at least four inches. This will give the pavers enough support, so they don’t sink into the sand. You can also use a leveling substance like crushed gravel to fill low spots.
Make sure not to install pavers over concrete or asphalt, as those surfaces are too hard for the paver’s adhesive. Once the bed is prepared, lay down one layer of sand on top before placing your first row of pavers; for more information on how to install brick patios easily, visit.
4. Use landscape fabric
Laying pavers can be a rather delicate process, especially if you have an uneven surface. One of the most common issues with this type of paving is that it will sink into the ground over time. This can be a major problem, leading to uneven surfaces and other negative effects. You’ll need some landscape fabric to ensure your pavers don’t sink.
You’ll lay down the fabric first and then place your pavers on top of that, ensuring no gaps between them and the fabric. When choosing landscape fabric, there are a few things you’ll need to consider.
You should first consider what kind of material would work best for your location. For example, if you live in a humid area like Florida, you might want to use nylon or polypropylene fabric, so it doesn’t rot over time.
On the other hand, if you’re installing your pavers somewhere like Minnesota, where it’s cold for much of the year, vinyl or polyethylene would be a better choice because these fabrics won’t break down during those harsh winters. If you’re unsure which material would work best for your location or what size to buy, simply reach out to us, and we’ll do our best to help!

5. Add a layer of gravel
The best way to keep pavers from sinking is to add a layer of gravel. This gravel acts as a buffer between the paver and dirt, reducing the chances it will sink. The level of gravel you need depends on the thickness of your paver.
For example, you need 1-2 inches of gravel for 1⁄4 inch thick pavers, while 3-5 inches is needed for 1⁄2 inch thick pavers. If you’re going with larger pavers, 6-8 inches of gravel should do the trick.
When selecting the type of gravel to use, look for one with good drainage properties. You’ll also want to consider if you have any other landscaping or objects around that could interfere with installing the pebbles in this manner.
6. Wet the area before installation
When installing pavers on a new patio or deck, it is important to wet the ground first. This is because water will help keep the ground moist, which will allow the sand and gravel beneath the paver to remain stable.
That way, when you place your paving material on top of it, it won’t sink into the earth. If you don’t wet it first, then all of your hard work may be for nothing because if the ground beneath your paver isn’t moist enough, then there is a good chance that, over time, it will settle and create an uneven surface.
7. Compact the pavers
You can do a few things to ensure that pavers stay in place and don’t sink into the ground. You’ll need a shovel, a straight 2×4 or 2×6 board, and some scrap wood. Place your scrap wood on the area where you want the paver stones.
Next, lay down your 2×6 or 2×4 board to be perpendicular to the ground at one end and parallel to the ground at the other. Push down on your board so it sinks into the dirt, and ensure it stays steady before you continue.
Then take your shovel and dig out an area about two inches deep right under where your board will sit once it’s secure.
8. Fill the joints with sand
The most common cause of pavers sinking is a lack of or inadequate sand in the joints. The easiest way to solve this problem is to add more sand. Using a dry-set paver, you can
pack sand into the joints with your fingers or a tamper before pouring water on them. If using a wet-set paver, pour water onto the joints and pack the sand with your hands or a tamper.
9. Seal the pavers
Pavers are great for outdoor patios and walkways, but it is important to seal them before you lay them. This will help prevent the pavers from sinking into the ground.
It’s also important to use a pressure washer on your paver stones before sealing them, as this will help remove any dirt or debris hiding between the cracks.
You can even spray baking soda onto the surface of the stones after using a pressure washer to remove any leftover dirt or residue.
Once you’ve done all this, you’re ready for sealing! To seal pavers, spray a thin layer of grout over the surface and allow it to dry overnight. Then simply sweep off any excess grout with a broom and apply another coat of grout if needed.
10. Enjoy your new patio!
Pavers are a great way to create a seamless surface for your patio or walkway, but they can be difficult and time-consuming. You want them to be level and even so that you don’t trip over the edges. Here’s how to get it done right the first time!
Spread the sand evenly over the area where you will lay pavers, then use a straight edge (such as a 2×4) and make sure that each layer of sand is level with one other by placing it on top of the sand.
Next, put down your first row of pavers without mortar and make sure they are level with each other by using the straight edge again.
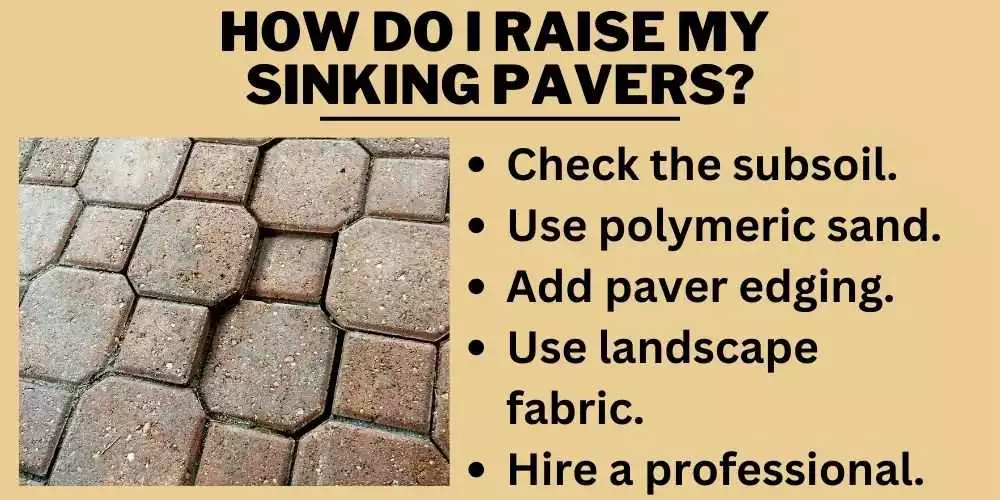
How do I raise my sinking pavers?
How do I keep my pavers from sinking? This question seems to be coming up more and more lately, so we thought it would be useful to put together this list of five strategies you can use to keep your pavers from sinking.
While some of these strategies have been around for a while, others are new ways to solve an old problem. Regardless of how long they’ve been around or whether you’re just hearing about them now, these tips should help you keep your pavers in place and looking new for as long as possible.

1. Check the subsoil
The best way to know what the problem is with your pavers is by knowing what’s happening underground. If you’ve dug below the surface and found that your subsoil is clay, it might be time to install a drainage system.
Clay soil tends to have difficulty absorbing water, so any excess will pool at the surface as puddles or runoff. A drainage system will help solve this problem by directing rainwater away from the house.
If you dug down and found no subsoil, your pavers could be sinking because there’s no support beneath them. This can happen when an area has been covered with construction materials for a long period without allowing for any type of ground stabilization.
2. Use polymeric sand
One solution is to use polymeric sand as a base layer. Polymeric sand is a more expensive, but it can save you money in the long run if your pavers start sinking over time.
This type of sand is specially designed for paver installation and comes with an adhesive that keeps it from shifting or becoming compacted, even in high-traffic areas. It also won’t wash away, so you don’t have to worry about spending hours digging out the area every few months. The best part about this type of sand? It never settles!
3. Add paver edging
Pavers are decorative and often expensive. To protect the investment, it’s important to maintain them properly.
One way to do this is by installing paver edging on the perimeter of your patio or walkway. The edging will help stabilize the pavers and prevent them from sinking or shifting over time, as well as keep dirt and grass away from the edges of your patio or walkway.
Paver edging is available in various styles, including metal, stone, concrete, and PVC, at various price points. You can install it yourself or hire a contractor for installation.
4. Use landscape fabric
The first step is to lay down landscape fabric over the pavers. The fabric should be placed around the perimeter of the paver area and then stapled in place with a staple gun. Next, you’ll need at least two inches of concrete mix.
You will mix this with water according to the instructions on the bag and pour it on top of the landscape fabric. Place bricks or boards across the mixture and weigh them down for about a day until it is completely dry.
Lastly, remove the bricks and boards and let your paver area dry for one week before using it again.
5. Hire a professional
It is important to hire a professional because it will save you time and money. Most people think they can just buy a bag of mortar mix, pour it over their sunken pavers, and call it a day.
Unfortunately, this doesn’t work well because the mortar mix will usually wash away the dirt around your pavers, making them sink further into the ground. With this in mind, we recommend hiring an expert with experience fixing sinking pavers.
You May Also Read: Why Is My Grass Turning White
Frequently Asked Questions (fAQs)
What do you put around pavers to hold them in place?
When you install pavers, you must use sand or a similar material around the edges of the paver. This will help hold the paver in place and prevent it from sinking into the ground.
Should you put plastic under the pavers?
One way to keep your pavers from sinking is to lay down a layer of plastic before you start building. Not only will this protect the ground and make it easier for you, but it will also serve as a cushion and prevent movement.
Should you put drainage under the pavers?
Pavers are not an ideal choice for all applications. For example, in high water table areas or on sites with a lot of water run-off, pavers may eventually sink due to hydrostatic pressure. In these cases, you can use a drainage mat under the pavers to help alleviate the pressure and keep them propped up.
What kind of sand do you use under pavers?
The best kind of sand you can use under pavers is one that is not too heavy and not too light. Fine sand (like what you would find at the beach) will create a firm base for your paver, but it will also be more prone to washing away in the rain.
What is the best thing to put between pavers?
There are many things you can do to keep your pavers from sinking. You can put a layer of sand or stone below the pavers, avoid installing them on a slope or use a different type of paver that is less likely to sink.
How much do pavers sink when compacted?
Compaction is an important part of the paving process. It helps to make sure that the pavers are stable and uniformly spaced. However, you might notice that your pavers start to sink into the ground after a few weeks or months.
Why does this happen? Some of it has to do with how they originally compacted. For them not to sink over time, you will need to compact them more thoroughly before installation.
Conclusion
Pavers are perfect flooring options because they’re durable and look great in any style of yard or patio. Still, if you don’t keep up with the maintenance of your pavers, they’re bound to sink into the ground over time—especially if they are made from concrete or stone.
To prevent this sinking effect and keep your paver floors looking as good as new, follow these tips on how do I raise my sinking pavers.
I hope you have found my guide regarding how to keep pavers from sinking helpful, if you still have any confusion, please let me know in the comment box.
