One question might linger as you consider transforming your shed into a personal space: can you put hot tub in shed?” An indoor hot tub is undeniably attractive for many reasons, such as increased privacy and shielding from harsh weather. Here, we dive into every aspect of installing a hot tub in a shed, ensuring you have the answers and guidelines needed to create your ultimate spa retreat.
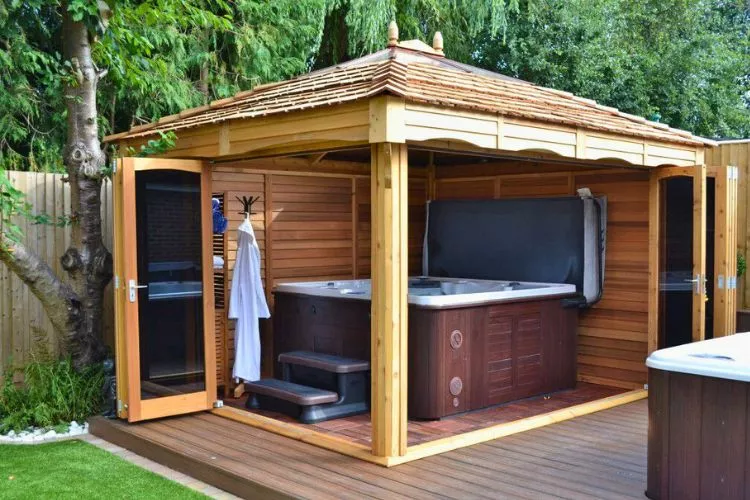
Can you put hot tub in shed?
You can put a hot tub in a shed, provided you take necessary precautions and modifications. Key aspects to consider include ensuring the shed has a strong and level foundation to support the hot tub’s weight when filled with water and occupants. Adequate ventilation is essential to prevent mold and structural damage caused by humidity.
Electrical and plumbing installations must meet safety standards and local regulations. Proper insulation and heating allow for year-round usage. Additionally, you should ensure ample space for hot tub maintenance and accessibility. By addressing these crucial elements, converting your shed into a comfortable and safe spa haven is possible.
How much room do you need around a hot tub?
For a hot tub that accommodates 5-6 adults, a minimum space of 250cm x 250cm (8 feet 2 inches x 8 feet 2 inches) is recommended. The hot tub will have a footprint of around 220cm x 220cm (7 feet 2 inches x 7 feet 2 inches). Additionally, it is important to maintain a clearance of between 1 and 2 feet (30-60cm) around the sides to provide access for maintenance and ensure the safety of users.
For optimal hot tub placement, it is crucial to consider the following factors in addition to the recommended minimum space:
- Access and Entry: Include space to accommodate steps or other means of entry for easy and safe access to the hot tub. These may require an extra 3 feet (90cm) of space around the entrance area.
- Cover Lifter: If using a hot tub cover lifter, ensure adequate room to store the cover when it’s off the tub. This typically requires 1.5 to 2 feet (45-60cm) of space around the hot tub.
- Service Access: Leave enough space on all important access points to your hot tub for repairs and maintenance, ensuring that panels and components can be easily reached.
- Safety Rails: If you plan to install safety rails, grab bars, or handrails, allocate additional space to accommodate them without obstruction.
- Surroundings and Aesthetic: Consider adding seating, storage, or other accessories to enhance the ambiance and overall hot tub experience. Plan for additional space if you intend to include these features.
- Electrical Panel: Ensure the electrical panel is within the required distance from the hot tub, generally between 5 and 10 feet (1.5-3m), according to local building codes. The electrical panel must remain easily accessible in emergencies or electrical issues.
- Privacy and Windbreaks: If you want to create privacy or windbreaks using fencing, partitions, or landscaping, ensure enough space is allocated for these installations.
By thoroughly considering these factors and consulting with a hot tub professional, you can determine the appropriate room needed around your hot tub for a safe and enjoyable experience.
Safety precautions for putting hot tub in shed
Bringing a hot tub into a shed requires careful attention to safety. Here are some essential safety precautions you must take:
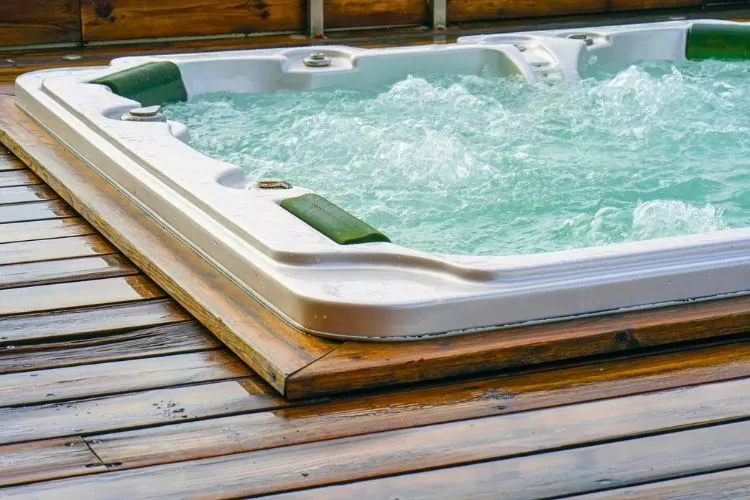
- Strong Foundation: The shed floor must be strong and sturdy enough to support the weight of the hot tub, the water it contains, and its users.
- Appropriate Ventilation: Ensure sufficient ventilation in the shed to prevent issues related to excessive humidity, such as harm to the shed or mould development.
- Safe Electrical Installation: The hot tub’s electrical system needs adherence to safety standards and regulations. It’s highly recommended to hire a licensed electrician for this task.
- Proper Drainage: Protect against flooding or water damage by ensuring a proper drainage system.
- Chemical Storage: Store chemical additives safely. Keep them out of the reach of children and ensure they are stored in a dry, cool place.
- Prevent Entrapment: Use drain covers or grates over drains and suction outlets to prevent entrapment that could lead to drowning.
- Maintenance: Regularly check if hot tub equipment is working, as pumps and filtration systems should be audible, indicating they are functioning.
Ventilation Requirements for Hot Tubs in Sheds
Proper ventilation is crucial to maintain indoor air quality and protect your shed when installing a hot tub. Some essential ventilation considerations include:
- Ventilation System: Install an exhaust fan or dehumidifier system to remove excess moisture, ideally vented to the outdoors. This helps reduce humidity, preventing mould growth and damage to the shed’s structure.
- Air Circulation: Leave space between the hot tub and the shed walls to promote air circulation. This helps dissipate moisture and heat.
- Windows and Doors: If possible, incorporate windows and doors that can be opened to improve airflow and aid in humidity control.
- Insulation: Properly insulating the shed will help maintain a consistent temperature, reducing the need for excessive ventilation.
Insulating and Heating a Shed for Year-Round Hot Tub Use
To enjoy your hot tub throughout the year, insulating and heating your shed is vital. Here are some key steps:
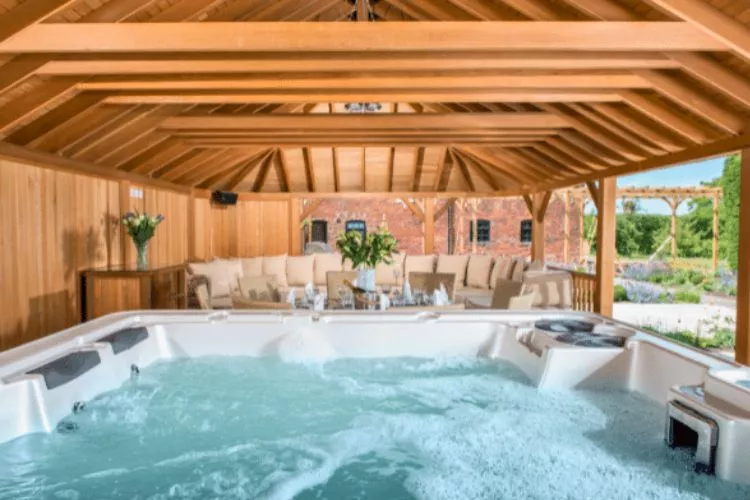
- Insulate Walls, Ceiling, and Floor: Use high-quality insulation in the walls, floor, and ceiling to retain heat and prevent energy loss. Common options include foam boards, fiberglass batts, reflective insulation, or spray foam.
- Weatherstripping: Seal windows and doors with weatherstripping to eliminate drafts and reduce heat loss.
- Heating System: Install an energy-efficient heating system to maintain a comfortable temperature in the shed. Choose from electric heaters, portable gas heaters, or ductless mini-split systems.
- Thermal Mass: Incorporate materials with high thermal mass, such as stone or brick, into the shed’s interior design. These materials absorb heat during the day and release it at night, helping maintain a stable temperature.
Insulated Hot Tub Cover: Use an insulated hot tub cover when the tub is not in use to reduce heat loss and maintain water temperature.
How to build a hot tub shed?
A hot tub shed is an excellent way to protect your hot tub from the elements and maintain privacy. In this guide, we will be providing a step-by-step process to build a hot tub shed.
Materials and Tools Needed
Materials
- Pressure-treated lumber (2x4s, 2x6s, 4x4s)
- Plywood (for roof and walls)
- Roofing material (shingles or metal)
- Waterproof paint or stain
- Screws, nails, and wood glue
- Concrete mix
- Gravel
- Weed barrier
Tools
- Tape measure
- Level
- Miter saw or handsaw
- Cordless drill
- Hammer
- Carpenter’s square
- Post hole digger
- Wheelbarrow
- Shovel
- Ladder
- Paintbrush or roller
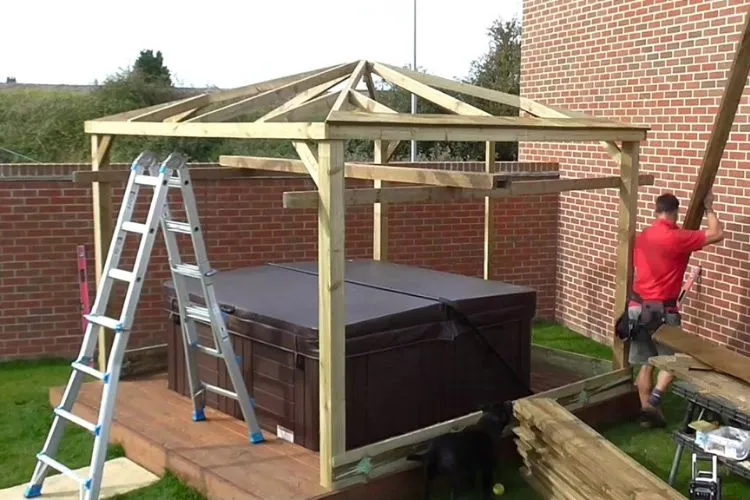
Step 1: Plan and Measure
Begin by determining the size of your hot tub shed and marking out the area where you want to build it. Ensure the ground is level and free of debris.
Step 2: Prep the Ground
- Remove any grass and dig a 4-6 inch shallow depth for the entire area where the shed will be built.
- Lay down a weed barrier to prevent growth under the shed.
- Add 2-4 inches of gravel, raking it out evenly and compacting it using a hand tamp.
Step 3: Build the Foundation
Prepare the concrete mix according to the manufacturer’s instructions. Using the post hole digger, dig holes for the 4×4 corner posts at least 12 inches deep, spaced according to your shed size. Pour the concrete into the holes, ensuring it is evenly distributed around the 4×4 posts and level with the ground.
Step 4: Construct the Floor Frame
Measure and cut 2×6 pressure-treated lumber to create the floor joists. Assemble the frame using screws, nails, and wood glue, level it and attach it to the corner posts.
Step 5: Install the Flooring
Cover the floor frame with plywood, nailing it into place.
Step 6: Frame the Walls
Construct four wall frames using 2×4 lumber and attach them to the floor frame and corner posts using screws and nails. Remember to leave an opening for a door and windows, if desired.
Step 7: Add Plywood Sheathing
Cut plywood to the appropriate size and attach it to the wall frames, securing it with nails.
Step 8: Build the Roof Frame
Construct the roof frame with 2×4 lumber, creating a sloped design for proper drainage. Attach the frame to the wall frames using screws and nails.
Step 9: Install Roof Sheathing
Attach plywood sheathing to the roof frame using nails.
Step 10: Install Roofing Material
Cover the roof sheathing with your choice of roofing material (shingles or metal). Follow the manufacturer’s instructions for installation.
Step 11: Paint or Stain
Protect the wood and enhance the appearance of your hot tub shed by applying a waterproof paint or stain to the exterior.
Step 12: Install Door and Windows (Optional)
If desired, install a door and/or windows on your shed for added functionality and aesthetics.
Congratulations! You have now successfully built your hot tub shed. Enjoy your new, private space for your hot tub.
You may also find useful: Do I need a permit to move a shed?
Conclusion:
In summary, if you are wondering can you put hot tub in shed or not, I would say placing a hot tub in a shed is feasible. It provides additional privacy and shields the hot tub from harsh environmental conditions, extending its lifespan. However, it’s essential to consider factors like adequate ventilation, insulation, and access to utilities while planning for a hot tub shed.
This setup can result in an excellent relaxation space that can be enjoyed year-round, just be sure to observe the guidelines for space, safety, and convenience. Embrace this rewarding project, as it can take your hot tub experience to a new level!
